Summer Is Peak Season: Is Your Site Ready?
From Memorial Day through Labor Day, playground builders and contractors across the country are running at full tilt. Projects stack up fast, crews juggle multiple sites, and delivery windows get tight. Getting mulch to your job site on time is only half the battle. The other half is making sure your site is ready to receive it.
A botched delivery ( wrong staging area, blocked access, crew not on-site ) can cost you a half-day or more. Here's how to get your job site squared away before the truck rolls in.
Step 1: Confirm Site Access Before the Delivery Date
Bulk mulch deliveries arrive in dump trucks or flatbeds. These are big vehicles with long wheelbases and limited maneuverability. Before you schedule your delivery, walk the access route and check:
- Gate width: Most delivery vehicles need at least 12 feet of clearance, 14 feet is safer for tighter turns.
- Overhead clearance: Tree branches, utility lines, and canopy structures can stop a truck cold. Typical dump truck height is 11-13 feet fully loaded.
- Turn radius: Can the driver make a clean approach to the drop zone? Mark the route if needed.
- Surface condition: Soft or muddy ground can cause trucks to bog down. After summer thunderstorms, check the access road before the day-of.
If access is restricted, coordinate with your delivery provider at least 48 hours in advance. Most experienced suppliers have alternative equipment for tight sites, but only if you tell them early.
Step 2: Designate and Clear Your Staging Area
Your staging area is where the mulch lands. Getting this right makes the difference between a clean install and a scramble.
Choose a spot that's:
- Flat and firm: sloped ground causes mulch to shift and compact unevenly
- Close to the pour zone: the shorter the carry distance, the faster your crew spreads
- Clear of equipment, debris, and grade stakes: a cluttered staging area slows everything down and creates tripping hazards
- Accessible from multiple sides: especially for large cubic yard drops that will be moved in stages
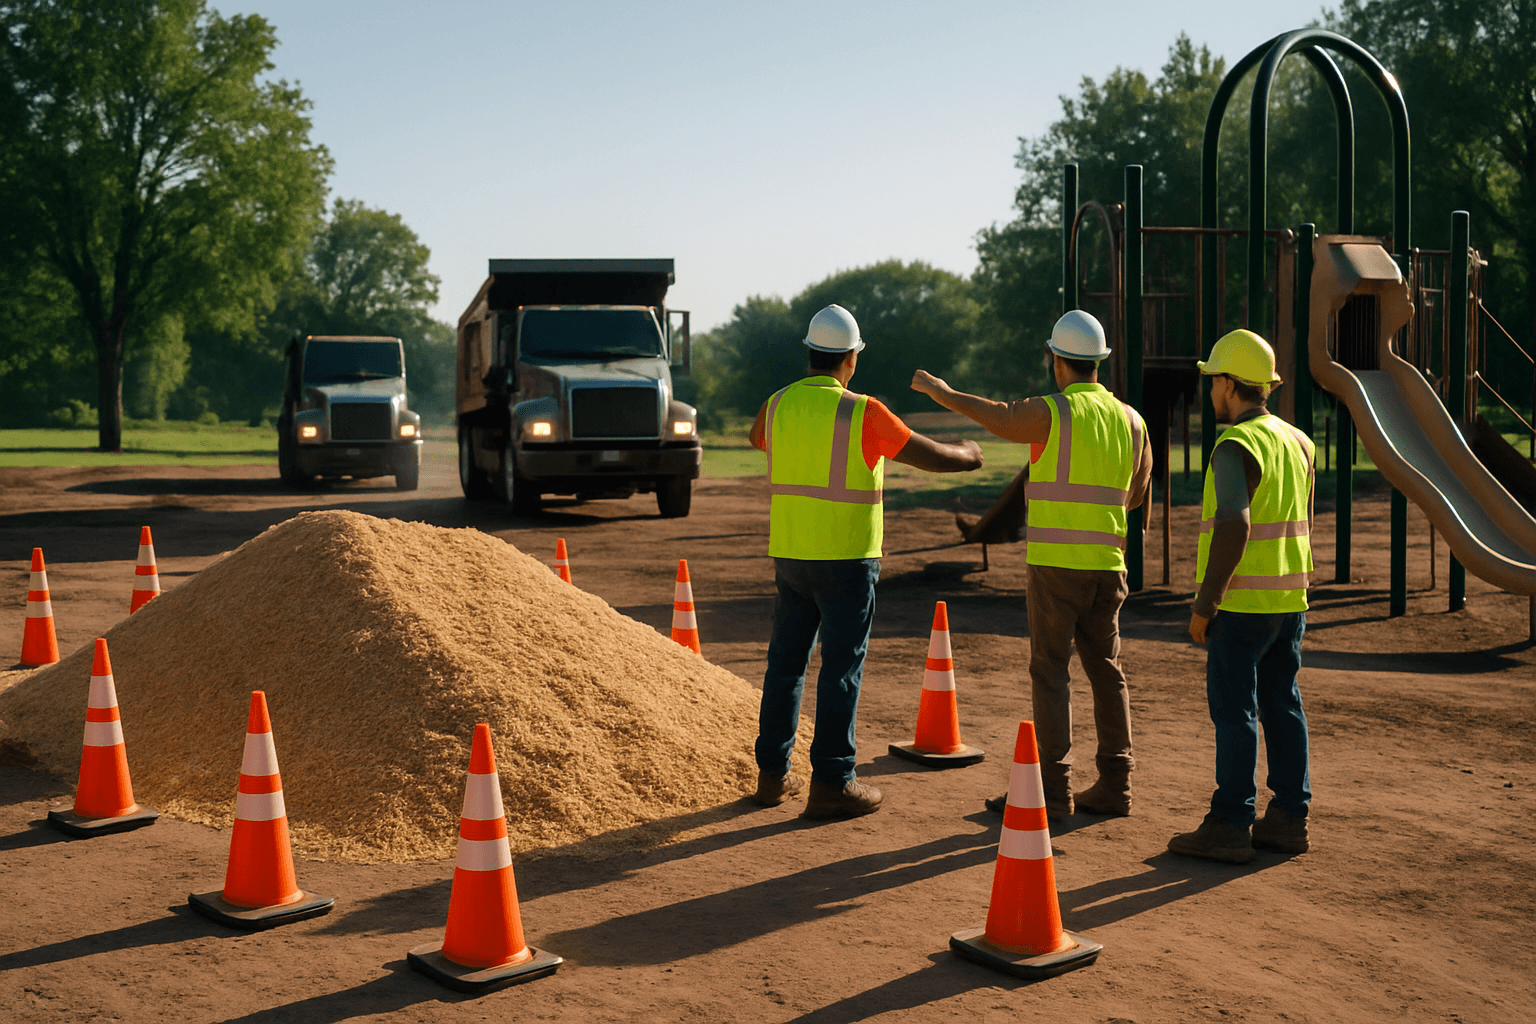
Mark your staging area with cones or flags before delivery day. Share a site map or GPS pin with your delivery driver when you confirm the order.
Step 3: Prep the Ground Before Mulch Arrives
Mulch goes down best on a properly prepped surface. Trying to fix ground conditions after delivery is more work than doing it right before.
Before your delivery date, make sure:
- Existing surface is cleared: remove old mulch, debris, and any standing water from the playground fall zone
- Grade is set: the sub-base should be graded to drain away from the center of the play area. Flat or negative-grade sites trap water under your mulch layer, which leads to compaction, mold, and depth loss
- Edge containment is in place: timber borders, curbing, or geo-fabric edging should be set before mulch goes down, not after
- Depth markers are installed: set temporary depth stakes at your target depth (typically 9-12 inches for most ASTM F1292 compliance scenarios) so your crew has clear visual reference during spreading
Step 4: Have Your Crew On-Site When the Truck Arrives
This sounds obvious. It is not always followed.
A delivery window isn't a suggestion. When a bulk load hits your staging area, you want hands available to:
- Spot the driver into position
- Verify the load volume matches the order
- Start spreading immediately if the weather window is short
- Take delivery photos for your compliance records
A crew that shows up an hour after the truck leaves wastes time, risks weather exposure to the raw mulch pile, and misses the window to document the delivery condition. Assign a site lead to receive the delivery, confirm specs, and photograph both the delivery vehicle's load documentation and the staged mulch pile before anyone touches it.
Step 5: Watch the Weather Window
Summer installs have a weather wildcard that spring and fall jobs do not: afternoon thunderstorms.
In much of the Southeast, Midwest, and Mid-Atlantic, afternoon pop-up storms are routine from June through August. Heavy rain on freshly delivered EWF or rubber mulch causes:
- Displacement from the fall zone into drainage channels and adjacent grass
- Compaction that reduces effective critical height
- Erosion that creates uneven depth across the play zone
Schedule deliveries for morning install days when possible. If a storm rolls in before spreading is complete, cover any unspread pile with tarps and hold off on final grading until conditions improve. Document your post-storm condition with photos and re-measure depth before sign-off.
Step 6: Document the Delivery
Whether your project is municipal, school district, or private park, your documentation is your liability protection.
Standard delivery documentation should include:
- Delivery receipt or bill of lading: material type, quantity, ASTM/IPEMA certification reference
- Pre-spread photos: staged pile, job site condition, measurement stakes
- Post-spread photos: finished fall zone surface, depth measurements at multiple points
- Date and site address: obvious, but easy to skip when you are moving fast
File these with your project records. If a compliance question comes up six months later, you want the photos and paperwork, not a best-guess recollection.
Get the Right Material on the Right Timeline
Site prep is half the job. The other half is making sure you have the right mulch spec, the right quantity, and a delivery partner who can hit your window.
GetMulch works with contractors across the country to coordinate bulk EWF and rubber mulch deliveries to tight job site schedules. Whether you are running one playground or a multi-site summer pipeline, we make sure the material shows up when your crew does.
Get a quote from GetMulch: and tell us your site access details upfront. That's how we get it right every time.