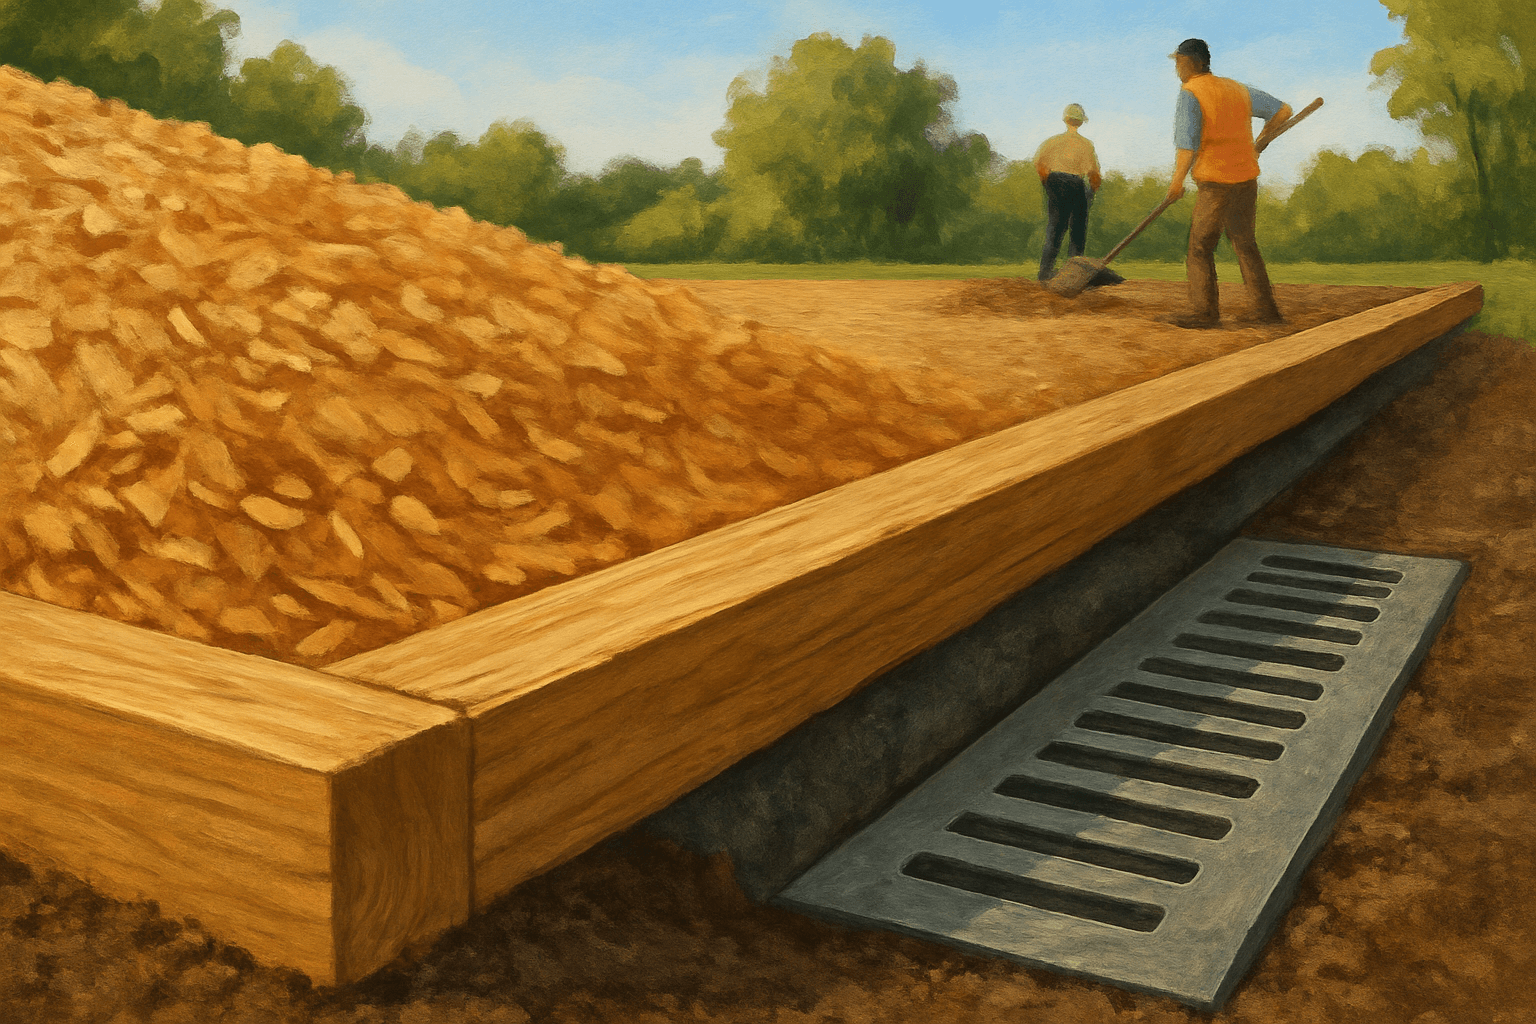
You're 20 minutes into an install and your crew's making good time. Bags are open, the spreader's moving, and somebody's working toward the far corner of the playground. Then you look over and see rubber chips piling up around the drain grate. Or worse, you don't notice until the site walk at the end, when the park supervisor points to a clogged channel and asks why your material is sitting three inches deep in their drainage infrastructure.
This is one of those problems that's embarrassing and expensive because it was preventable. Clogs cause standing water. Standing water gets you a callback. Callbacks eat margin and create liability. And if you're working on a bid-out municipal project, a drainage complaint can follow you into the next bid cycle.
The good news: a little pre-install planning takes this problem off the table entirely.
Walk the Site Before You Touch the Mulch
The single most important thing you can do is a proper site walk before any material comes off the truck. Walk every edge. Find every drain inlet, channel, catch basin, and low point on the site. On older playgrounds especially, drainage infrastructure can be partially buried, poorly marked, or just not visible until you're already spreading material toward it.
Make note of:
- Channel locations relative to the pour zone
- Whether existing drain grates have gaps wide enough for mulch to pass through (engineered wood fiber is the worst offender here; smaller particle sizes fall through most standard grate openings easily)
- The slope of the site and where material will naturally migrate
- Any existing border containment that might funnel runoff toward a drain
If the site has open-face channel drains running along the edge of the playground zone, you need a containment plan before you start. No exceptions.
Temporary Covers Work. Use Them.
The simplest fix is also the most overlooked: cover the drain during install. You're not trying to seal it permanently, just block loose material from entering while your crew is spreading and compacting.
A few methods that work well in the field:
- Foam backer rod or rubber gasket material laid across the channel opening before you start. It's compressible, so it sits flat, and it's easy to pull after you've compacted the final depth.
- Weed barrier flap over grate inlets. Cut a piece of landscape fabric slightly larger than the grate, set it over the top, and weight the edges with a couple of shovels. Pull it once the area around the drain is compacted and the mulch is stable.
- Sheet metal or plywood covers for open channel runs. Particularly useful on larger installs where you've got a long drainage channel running parallel to the play zone. A strip of plywood protects the channel for the whole install and takes 30 seconds to remove.
Real talk: these aren't sophisticated solutions. They're basically just "block the hole before you pour material near it." But crews skip this step constantly because it feels like extra setup time. It isn't. Clearing a clogged channel at the end of a day is ten times slower than a two-minute cover job at the start.
Pour Direction and Spread Sequence Matter
How your crew spreads material makes a real difference in how much ends up in places it shouldn't. Work from the drain outward, not toward it. Start your spread from the channel edge and move away so any material that migrates is moving toward the center of the play zone, not into the drain.
If you're using a blower or bulk delivery system, position the discharge point on the side of the site away from drains. Let the material fall short and rake it toward the drain-adjacent zones by hand as a finish step, when you have control over exactly where it's landing.
On steep or sloped sites, be more aggressive with your containment. Material on a slope will find the lowest point, and if that's a drain channel, you'll lose a meaningful amount of mulch depth plus cause a clog. On slopes steeper than about 5%, consider installing rubber edge restraints along the channel boundary before spreading.
Keep Channels Clear as You Go
Don't wait until the job's done to check the drains. Assign someone to walk the channel edges every 20-30 minutes during a large install. A quick sweep with a stiff brush keeps material from packing in and becoming difficult to remove.
If you see chips or fiber accumulating near a grate opening, pull it out while it's loose. Once it compacts or gets wet, it takes a lot more work to clear. Five seconds of attention during the job saves 20 minutes of cleanup at the end.
The Final Walk Is Non-Negotiable
Before you sign off and hand the site back, walk every drain on the property. Not just the ones in the play zone. Runoff during install, especially if there was any rain or irrigation running, can carry material to drains well outside your immediate work area.
Clear any accumulated material from grates and channel openings. Then run a hose into the channel (if your client has water access on site) and confirm water flows freely. This two-minute check is your proof-of-work and your protection if someone calls back later claiming drainage issues.
Take photos. Document the drain condition when you leave. If you're on a municipal or school district project, this documentation is worth having if a warranty claim comes up six months later.
What You're Protecting Against
Drainage channel clogs from mulch aren't just a nuisance. They cause:
- Standing water that creates slip hazards and ADA compliance issues
- Undersurface erosion that degrades your mulch depth over time
- Mosquito breeding in standing water, which is a public health concern on school and park sites
- Warranty disputes where you end up arguing about whether the clog was your fault or an existing drainage design problem
A clean install with no drainage issues is a competitive advantage. It's the kind of job that gets you referrals and repeat bids. Cutting corners on drain protection to save 15 minutes of setup time isn't worth it.
Match Your Material to Your Site
Not all mulch behaves the same around drainage infrastructure. Rubber mulch is the most forgiving because the larger particle size doesn't pass through standard grate openings. Engineered wood fiber is the trickiest because fine particles migrate easily in water or wind.
If you're specifying material for a site with heavy drainage or frequent rainfall, talk to your supplier about particle size. GetMulch.com carries engineered wood fiber and rubber mulch options in particle sizes suited for different site conditions. Get the right spec for your site upfront and the install goes smoother.
Ready to order or need help spec'ing the right surface for your next project? Visit GetMulch.com or reach out to our team directly. We deliver when your crew's ready.