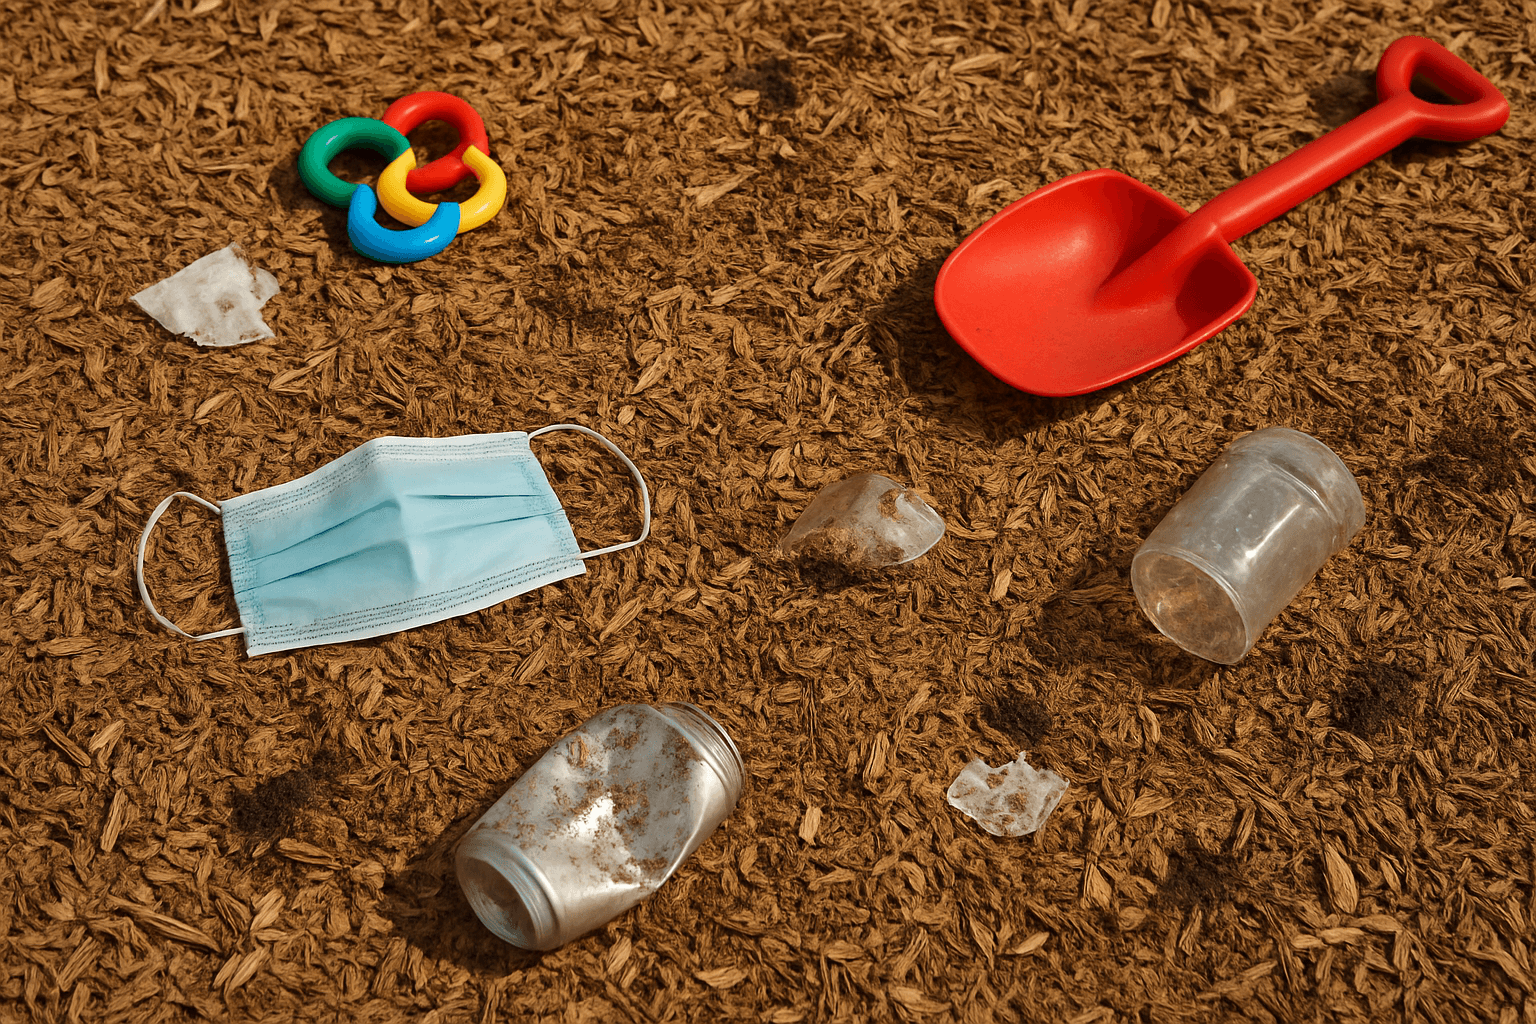
What Contamination Actually Looks Like
You've done a few hundred playground installs. You know what clean mulch looks like when it goes down. Contamination is anything that doesn't belong in that surface and compromises its ability to protect a falling child.
Here's what you're dealing with on most active sites:
- Physical hazards: Glass, metal fasteners, broken plastic, rocks, gravel, concrete fragments
- Biological contamination: Animal waste, vomit, blood, mold growth in clumped wet areas
- Chemical exposure: Fertilizer or herbicide drift, oil or fuel spills near maintenance access, paint overspray
- Organic intrusion: Leaves, sticks, and debris accelerating decomposition and creating low spots
- Depth loss: Mulch displaced, compacted, or dropped below the critical fall height spec for the equipment overhead
Each type calls for a different response. Physical hazards get immediate isolation. Biological contamination needs PPE and proper disposal. Chemical spills may require full surface replacement and regulatory documentation. Know which you're dealing with before you start.
First Move: Isolate Before You Assess
The moment you spot contamination, rope off the zone. Barrier tape or portable fencing. If kids are on site, coordinate with the facility manager before you do anything else.
Don't undersize the restricted area. Contamination spreads. If you found glass near the swing set, assume it's in a wider radius than what's visible. Mark off extra space and work inward. You'd rather cordon off too much and look cautious than miss a shard that ends up in a kid's foot.
Document before you touch anything. Timestamped photos, location notes, GPS if your site management system supports it. This protects you, protects the facility, and establishes a baseline if this turns out to be a recurring problem.
Remediation on a Live Site
You're managing two things at once: the contamination and the people around it. Here's the process that keeps the playground operating while you work.
Step 1: Map the full extent. Walk the entire surface, not just where you found the initial problem. Use a rake or tine tool to turn the top layer in a grid pattern. A thorough sweep takes 20 to 30 minutes on a standard playground footprint. Don't shortcut it.
Step 2: Remove the contaminated material. For physical hazards, gloves go on first. Drop debris directly into a puncture-resistant bag. Don't sift or shake mulch that contains glass. You'll scatter it further. Bag the affected material and set it aside for proper disposal.
For biological contamination: nitrile gloves, eye protection, face covering at minimum. Bag and seal the material. Treat the zone with a disinfectant rated for porous surfaces. Follow the dwell time on the product label exactly.
For chemical contamination, contain the spread first. Absorbent material on any liquid. Then call your supplier and the site manager before you start removing anything. You may need a paper trail for regulatory compliance.
Step 3: Check your depth. You've just removed material. That means you've got a gap in your fall zone coverage. Pull out your depth gauge and verify compliance at every piece of equipment adjacent to the affected area. ASTM F1292 and CPSC guidelines give you the minimums. If you're below spec, you're not finished.
Step 4: Top off and regrade. Bring in fresh material to replace what came out. Match the existing surfacing type. Don't drop rubber mulch into an engineered wood fiber zone or flip it the other way. Rake it level and check depth again across multiple points in the replenished area.
Step 5: Clear the restriction. Once depth compliance is confirmed and the zone is clean, pull the tape. Photograph the completed remediation and write a brief incident log. Give a copy to the site manager. If the contamination was biological or chemical, keep your own copy on file.
Find the Root Cause
Contamination coming back every few weeks is a site management gap, not bad luck. Fix what's letting it in.
Inspection frequency: Walk the surface on a fixed schedule. Monthly at minimum. Weekly during high-use seasons and after storms. Low spots and compressed areas show up before glass does.
Perimeter control: Check your border edging after every mowing cycle and weather event. Mulch that migrates out of the safety zone creates a depth problem. It also opens a door for debris to migrate in from the surrounding ground.
Supplier accountability: If your material arrived contaminated at delivery, that's a direct conversation with your vendor. Photograph it, document it, and bring it to them. Reputable suppliers stand behind their product. If yours doesn't, that's information worth having.
Site-specific risk assessment: Know what's adjacent to the playground. A parking lot at the edge of the play zone is a gravel intrusion source. A dog park nearby means you need more sweeps per week. Build the site's specific risks into your maintenance schedule from the start.
Get the Zone Back in Compliance
Contamination is a solvable problem. You know how to work a controlled site. You know how to protect people and document the work. Mulch remediation on a live playground is the same process as any other worksite task: isolate, remove, replace, document.
When you need certified, contaminant-free surfacing material to top off a compromised zone and get back into compliance fast, GetMulch has it. Check availability and place your order at GetMulch.com.